How To Make Ricotta From Whey: The Ultimate Guide For Home Cheesemakers
Ever wondered how to make ricotta from whey? Well, you’re not alone. Many home cheesemakers and food enthusiasts are diving into this age-old technique to turn leftover whey into something delicious. Making ricotta from whey is not only a great way to reduce food waste but also a fantastic method to create a creamy, versatile cheese that can elevate any dish. Whether you’re a seasoned cook or just starting your culinary adventure, this guide will walk you through every step of the process.
Creating ricotta from whey is simpler than you might think. All you need is some leftover whey from making other cheeses, a bit of acid, and a touch of patience. The result? A rich, tangy ricotta that’s perfect for everything from pasta dishes to desserts. Plus, it’s a sustainable choice that aligns with the growing trend of zero-waste cooking.
Before we dive into the nitty-gritty, let’s set the stage. This article isn’t just about giving you a recipe; it’s about empowering you with knowledge. You’ll learn the science behind ricotta formation, tips for perfecting your technique, and creative ways to use your homemade ricotta. So, whether you’re here for a quick how-to or a deep dive into the art of cheesemaking, you’re in the right place.
- Hope Wilson The Journey Of Emmitt Smiths Daughter
- Who Is Benson Boones Girlfriend Exploring The Young Stars Love Life
Why Make Ricotta from Whey?
Whey is often considered a byproduct of cheesemaking, but it’s actually a goldmine of nutrients and flavor. By learning how to make ricotta from whey, you’re not only reducing waste but also unlocking the full potential of your ingredients. Ricotta made from whey has a unique texture and flavor profile that store-bought versions can’t replicate. Plus, it’s a fun and rewarding project that can save you money in the long run.
Here are a few reasons why making ricotta from whey is worth your time:
- It’s eco-friendly and reduces food waste.
- You get a fresher, more flavorful ricotta.
- It’s cost-effective and adds value to your cheesemaking process.
- It’s a great way to experiment with different flavors and textures.
Understanding the Science Behind Ricotta Formation
Before we get into the how-to, let’s talk about the why. Ricotta is formed when the proteins in whey coagulate under the influence of heat and acid. This process is similar to making other cheeses but requires a bit more finesse. The key is to strike the right balance between temperature, acidity, and time. Understanding the science behind this transformation can help you troubleshoot issues and refine your technique.
- Did Justin Biebers Dad Pass Away Understanding The Truth Behind The Rumors
- Where Is Ellen Pompeo From A Deep Dive Into Her Origins And Career
Here’s a quick breakdown of what happens during the process:
- Denaturation: Heat causes the whey proteins to unfold and expose hydrophobic regions.
- Coagulation: Acid helps the proteins clump together, forming curds.
- Draining: The curds are separated from the liquid whey, leaving you with creamy ricotta.
What You’ll Need to Make Ricotta from Whey
Now that you understand the science, let’s talk about the tools and ingredients you’ll need. Don’t worry; you don’t need any fancy equipment to make ricotta from whey. Most of what you’ll use is probably already in your kitchen.
Ingredients
- Fresh whey (from making other cheeses like mozzarella or paneer)
- Acid (lemon juice, vinegar, or citric acid)
- Salt (optional, for seasoning)
Equipment
- A large pot
- A thermometer
- A slotted spoon
- A colander
- Cheesecloth or a fine-mesh sieve
Step-by-Step Guide to Making Ricotta from Whey
Ready to get started? Follow these simple steps to make your own ricotta from whey:
Step 1: Heat the Whey
Pour your whey into a large pot and place it on the stove over medium heat. Heat the whey slowly, aiming for a temperature of around 180°F (82°C). This gradual heating helps the proteins denature properly, leading to better curd formation. Stir occasionally to prevent the whey from scorching.
Step 2: Add Acid
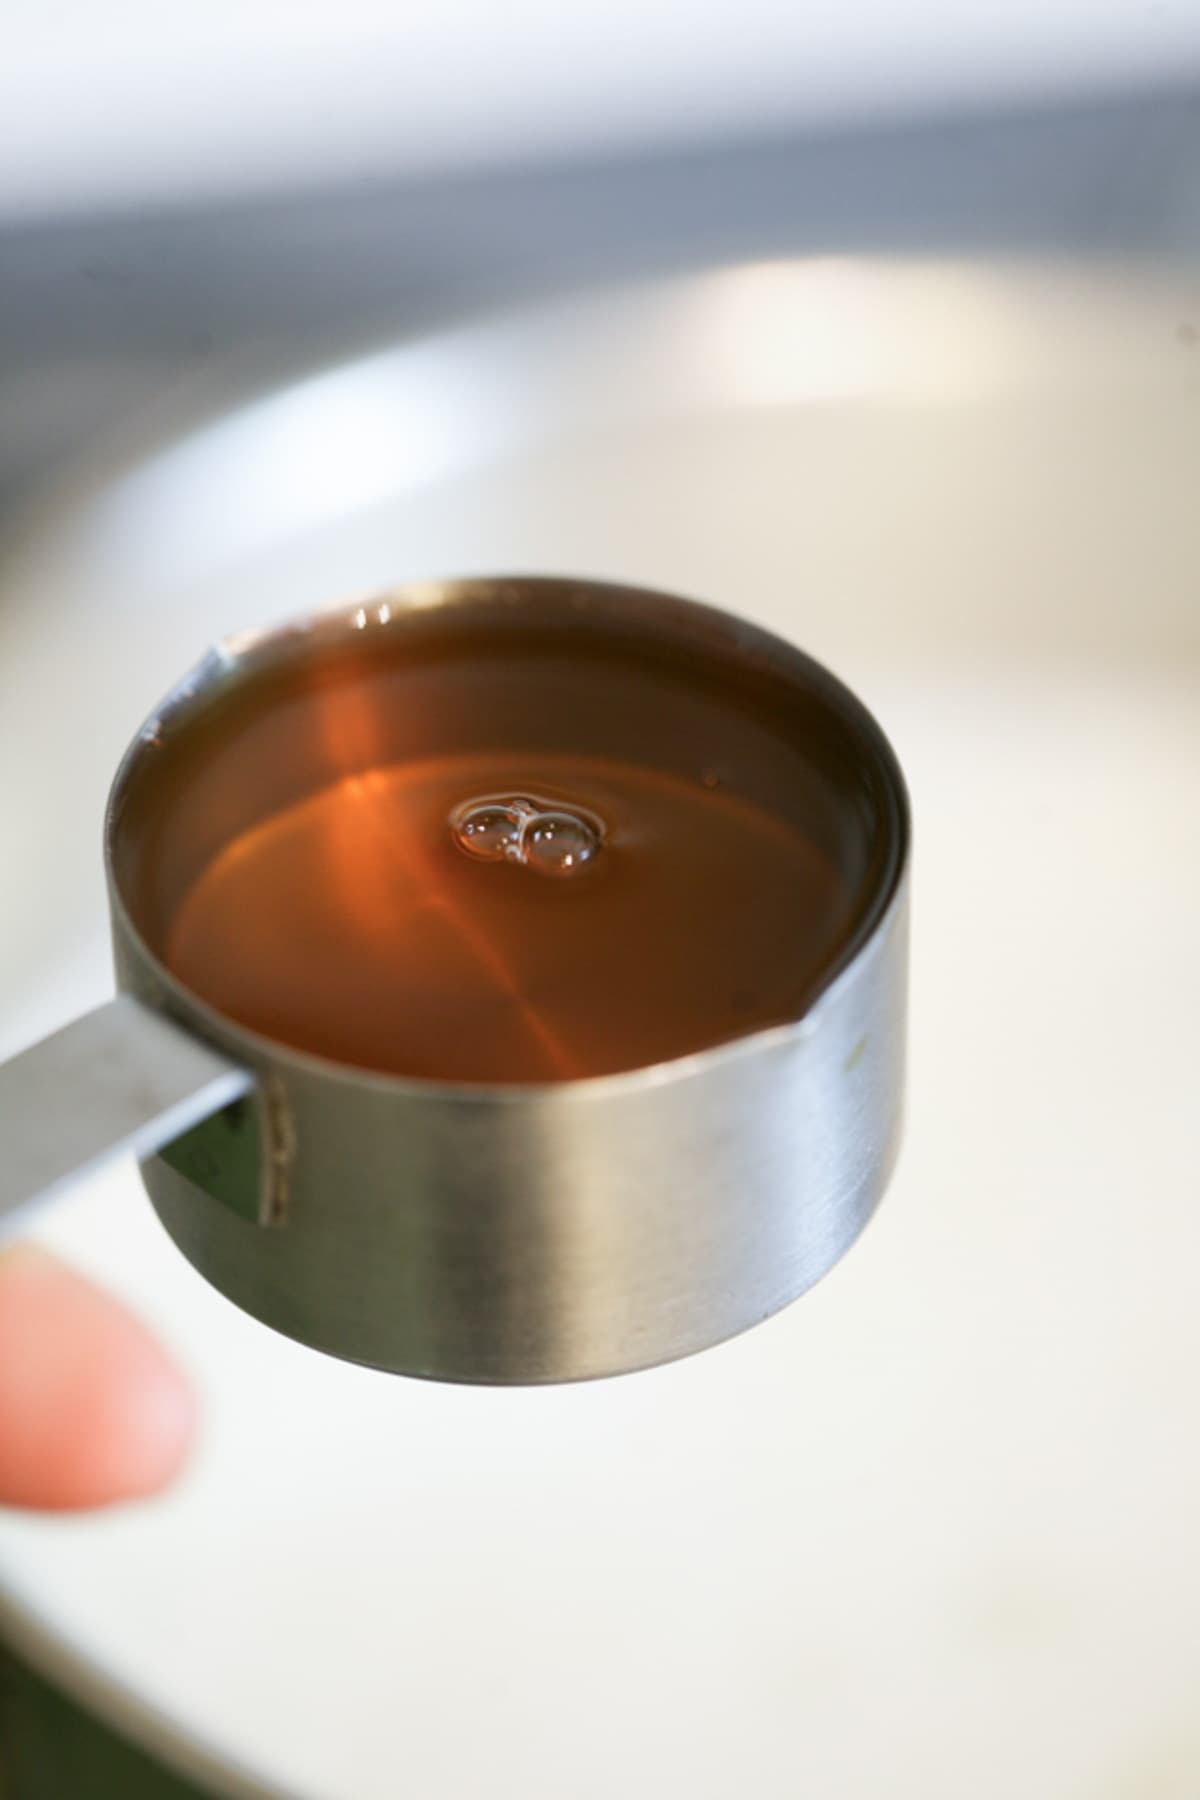
Once the whey reaches the desired temperature, remove it from the heat. Slowly add your acid of choice—about 1 tablespoon of lemon juice or vinegar per quart of whey. Stir gently to distribute the acid evenly. You should see the curds begin to form almost immediately.
Step 3: Let It Sit
Allow the whey to sit undisturbed for about 10-15 minutes. This gives the curds time to fully develop and firm up. Resist the urge to stir during this time—it can disrupt the formation of larger curds.
Step 4: Strain the Curds
Line a colander with cheesecloth or place a fine-mesh sieve over a bowl. Carefully ladle the curds into the colander, letting the excess liquid whey drain away. Depending on how creamy you want your ricotta, you can let it drain for anywhere from 10 minutes to a few hours.
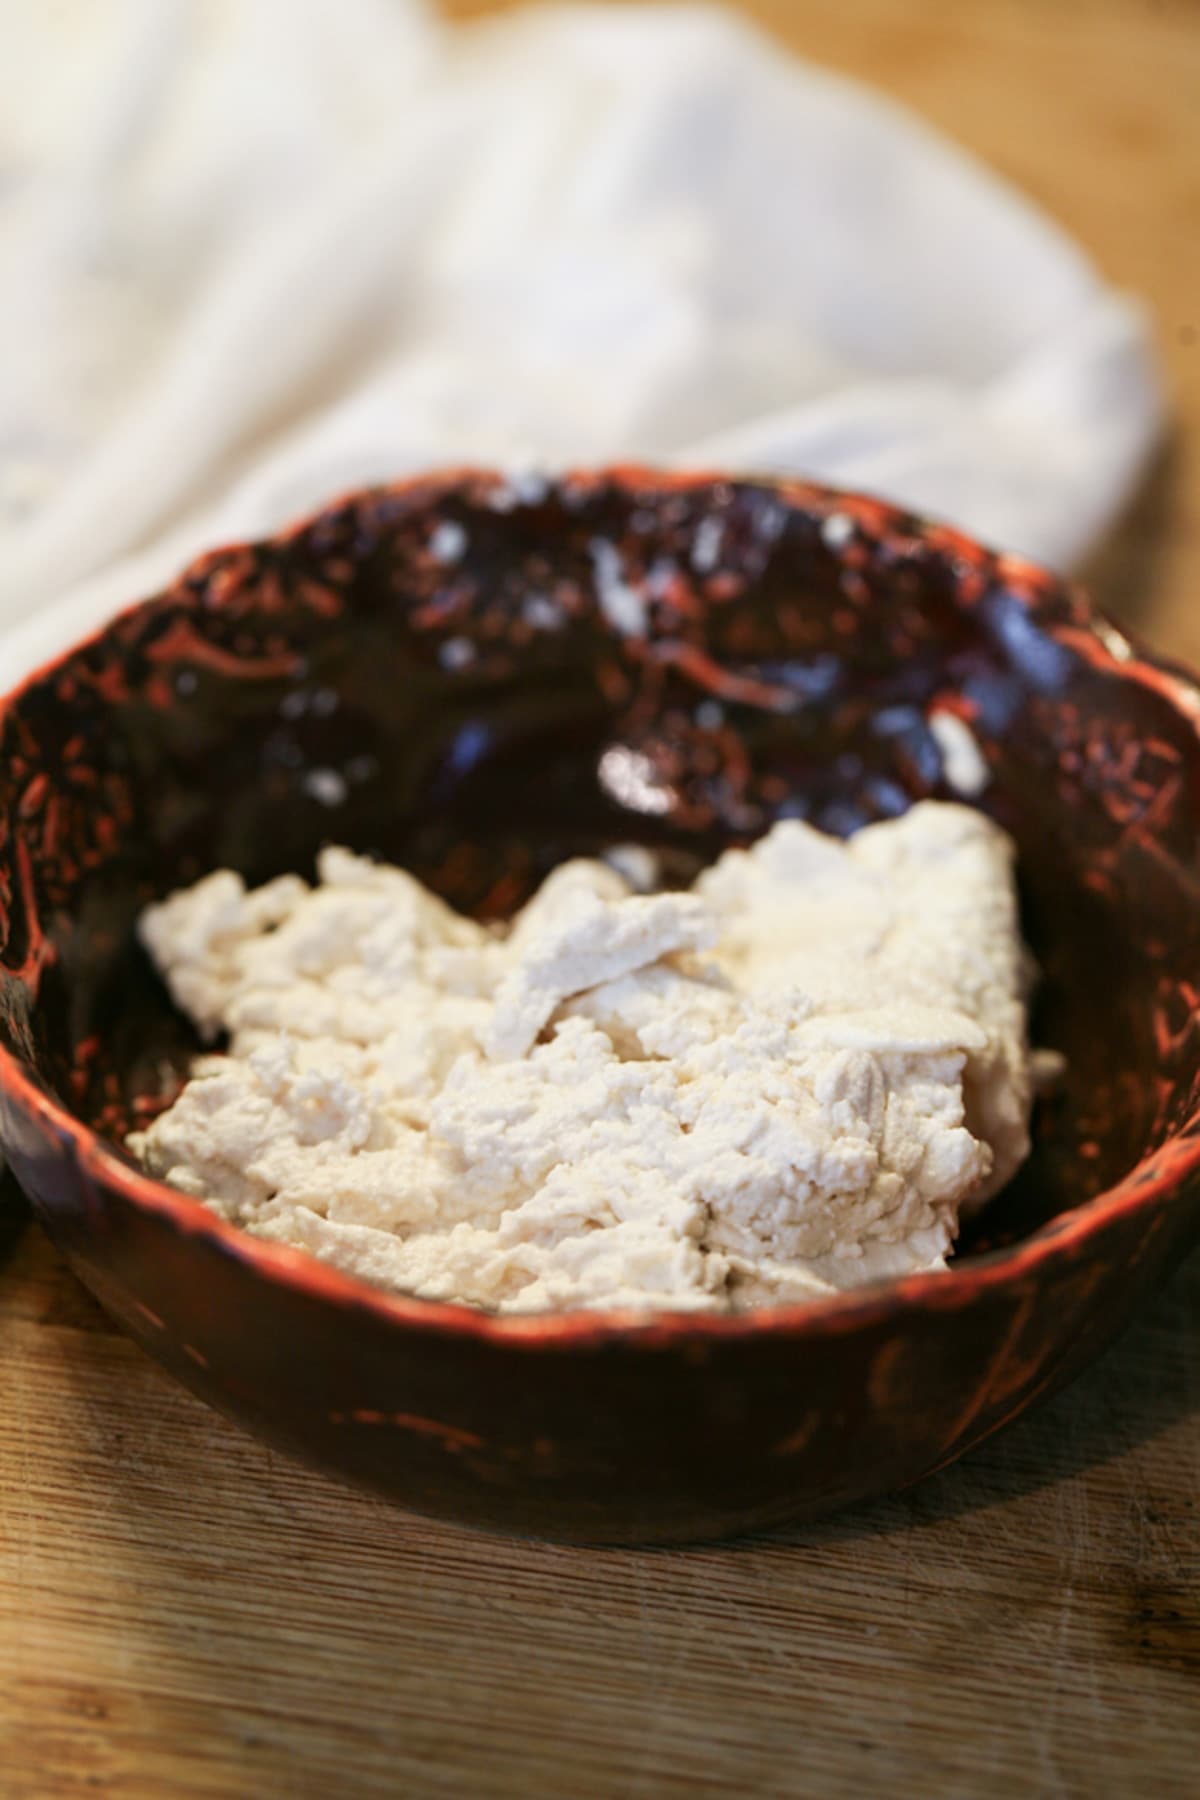
Step 5: Season and Store
Once the ricotta has drained to your liking, transfer it to a bowl. Add a pinch of salt if desired and give it a gentle stir. Your homemade ricotta is now ready to enjoy! Store it in an airtight container in the refrigerator for up to a week.
Tips for Perfecting Your Ricotta
Making ricotta from whey is a straightforward process, but there are a few tips and tricks that can help you achieve the best results:
- Use fresh whey: The fresher the whey, the better the ricotta. Try to use whey that’s no more than a day or two old.
- Experiment with acids: Different acids can impart slightly different flavors to your ricotta. Try using lemon juice for a bright, citrusy taste or vinegar for a more neutral flavor.
- Don’t rush the heating process: Heating the whey too quickly can lead to uneven curd formation. Patience is key!
- Adjust the draining time: If you prefer a creamier ricotta, drain it for a shorter time. For a firmer texture, let it drain longer.
Creative Ways to Use Your Homemade Ricotta
Now that you’ve made your own ricotta, it’s time to get creative in the kitchen. Here are a few ideas to inspire you:
1. Sweet Treats
Ricotta is a natural fit for desserts. Use it to make cannoli filling, cheesecake, or ricotta pancakes. You can also mix it with honey, fresh fruit, or nuts for a quick and delicious snack.
2. Savory Dishes
From lasagna to stuffed shells, ricotta adds a creamy richness to pasta dishes. Try mixing it with spinach and herbs for a flavorful filling or use it as a topping for pizza.
3. Breakfast Ideas
Ricotta can elevate your morning routine. Spread it on toast with jam or avocado, or use it as a base for a savory breakfast bowl topped with eggs and veggies.
4. Snacks and Appetizers
Ricotta pairs beautifully with crackers, bread, or fresh vegetables. Serve it with a drizzle of olive oil and a sprinkle of herbs for a simple yet elegant appetizer.
Common Mistakes to Avoid
Even the best-laid plans can go awry if you’re not careful. Here are a few common mistakes to watch out for when making ricotta from whey:
- Overheating the whey: Heating the whey too high or too fast can cause the curds to become tough and dry.
- Using too much acid: Adding too much acid can lead to a sour taste and smaller curds. Start with a small amount and adjust as needed.
- Not letting it sit long enough: Rushing the sitting time can result in smaller, less developed curds.
- Draining it too much: Over-draining can leave you with a dry ricotta. Adjust the draining time based on your desired texture.
FAQs About Making Ricotta from Whey
Still have questions? Here are some frequently asked questions about making ricotta from whey:
1. Can I use sweet whey or acid whey?
Both sweet whey and acid whey can be used to make ricotta. Sweet whey tends to produce a milder flavor, while acid whey can add a tangy note to your ricotta.
2. How long does homemade ricotta last?
Homemade ricotta can last up to a week in the refrigerator if stored properly. Always check for any off smells or signs of spoilage before using.
3. Can I freeze ricotta?
Yes, you can freeze ricotta, but it may lose some of its texture. Thaw it in the refrigerator and give it a gentle stir before using.
4. What can I do with leftover whey after making ricotta?
Leftover whey can be used in smoothies, soups, or as a substitute for water in baking recipes. It’s also great for feeding plants or composting.
Conclusion: Start Making Ricotta Today!
Making ricotta from whey is a rewarding and sustainable practice that every home cheesemaker should try. Not only does it reduce waste, but it also allows you to create a delicious, versatile cheese that can enhance any dish. By following the steps outlined in this guide, you’ll be well on your way to mastering the art of ricotta-making.
So, what are you waiting for? Grab your leftover whey, fire up the stove, and start experimenting. And don’t forget to share your creations with friends and family—or even on social media! Who knows, you might just inspire others to join you on this culinary journey. Happy cheesemaking!
Table of Contents
- Why Make Ricotta from Whey?
- Understanding the Science Behind Ricotta Formation
- What You’ll Need to Make Ricotta from Whey
- Step-by-Step Guide to Making Ricotta from Whey
- Tips for Perfecting Your Ricotta
- Creative Ways to Use Your Homemade Ricotta
- Common Mistakes to Avoid
- FAQs About Making Ricotta from Whey
- Conclusion: Start Making Ricotta Today!
- Is It True That Steve Harvey Is Dead The Truth Behind The Rumors
- Cillian Murphy The Man Behind The Mask In Batman
How to Make Ricotta From Whey Lady Lee's Home

Fresh Ricotta (wheybased) Caputo Brothers Creamery
How to Make Ricotta From Whey Lady Lee's Home
